|
CGI wireframe model... The Daleks first appeared on our TV screens on the 21st of December 1963 in the Dr Who series "The Daleks" which ran until Feb 1964. Their phenomenal success ensured their return time and time again over the next three decades. Creator - script writer Terry Nation, maintained tight control over how they were presented - the Daleks were not to be messed with. To my generation, they were scary... and yes I did hide behind the sofa... tv was in its infancy and the ghostly black and white images added to the effect superbly... a special effect unknown by today's hi-tech tv audience. |
What is a wireframe model?
A wireframe model is a model built on a computer in virtual three dimensional space. Basically, it consists of millions of points all linked together by 3 or 4 sided flat surfaces... there are no curves, just illusions of curves. Each point has co-ordinates which can be left or right, up or down and towards or away from you - x, y and z.
I started out in life (having been refused by art school) as an engineer, then a construction draughtsman, then an illustrator.. all these things apply remarkably well to making a wireframe model... but in the end, if it doesn't look right... start again. (It helps to know how things are supposed to look in real life).
Building the model is pretty much the same as you would build something for real... every part down to the last rivet is made but you only have to make one rivet, then copy it! Equally, there are many shortcut tools for making things quickly... but in my (limited) experience the computer has to kind of guess at the desired result and you end up with loads of points... the more points, the bigger the file size, so I try to avoid using them.
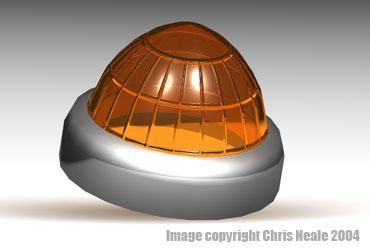
Having built the model, described and applied all of the materials... you need to light the scene with virtual lighting... much the same as in a film studio. Once this is done, you're ready for rendering the shot. Opposite is a view as seen in the editor, of the wireframe model for the Dalek "Ear" light. This is a small part so it's not necessary to build a high res. model... you can see the curves are starting to flatten out, this close in.
The computer works out where all the light rays are coming from, tracing their paths to the model, calculates the shadows and reflections and renders the shot. The outcome depends entirely on how much time and effort you put into all these processes. A superbly built model will look terrible if you haven't considered the materials, lighting and camera angles!
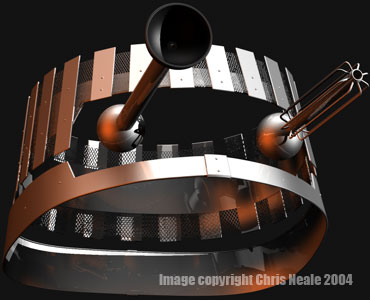
Some people think that this is all cheating and that it is not a creative process. As an artist, I would have to disagree. You need knowledge of how light works... which is the basis of all art... the most common colour in nature is grey... highlights and shadows created by light. It is true, much of the modeling process can be carried out using mathematical sub-routines... but, when you get something like the Dalek waist band (below right) that twists and curves all over the place, and you've got to put all of those slat thingys on it, all evenly spaced... you can forget your sub-routines! The only way to do it is to drag each one there and place it in 3D space using the human eye and a lot of determination and patience. There are some things that machines cannot do.. or it looks definitely wrong when they try.
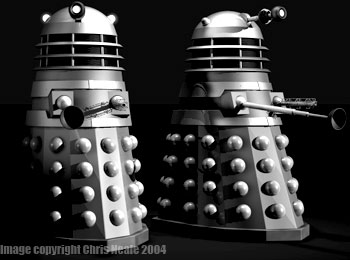
The model is my first completed attempt at producing a serious wireframe model. I'm fairly sure that it represents an accurate replica of the original 1960's TV prop. The file size stands at 1MB but there's a lot of refining I could still do to get it down in size. I have not paid too much attention to the available plans... when I did, it didn't look the same as the photo's of the original. At some point I'll produce a set of plans from the model for all you Dalek fans who like to build real ones!
Next page... the final rendered shots. Depending on how old you were in the 60's and 70's... the Dalek that you remember.
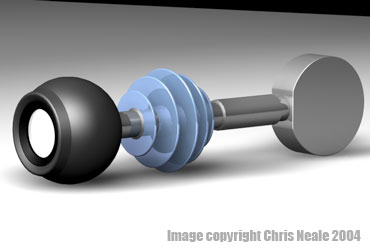
A rendered shot of the Dalek eye-piece. The materials for the model are assigned by describing their colour, reflectivity, whether they are solid or transparent. Photo's or patterns can be projected as textures onto the model for added realism.
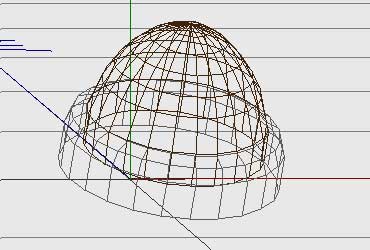
Wire frame model (above) and the rendered shot (below). The rib pattern is projected onto the glass as a bump map. Where black lines appear on the map... the computer simulates raised areas to the required specifications.
